What the Wall Will Take: Mounting an EV Charger and Cable Reel on an Old Garage Wall
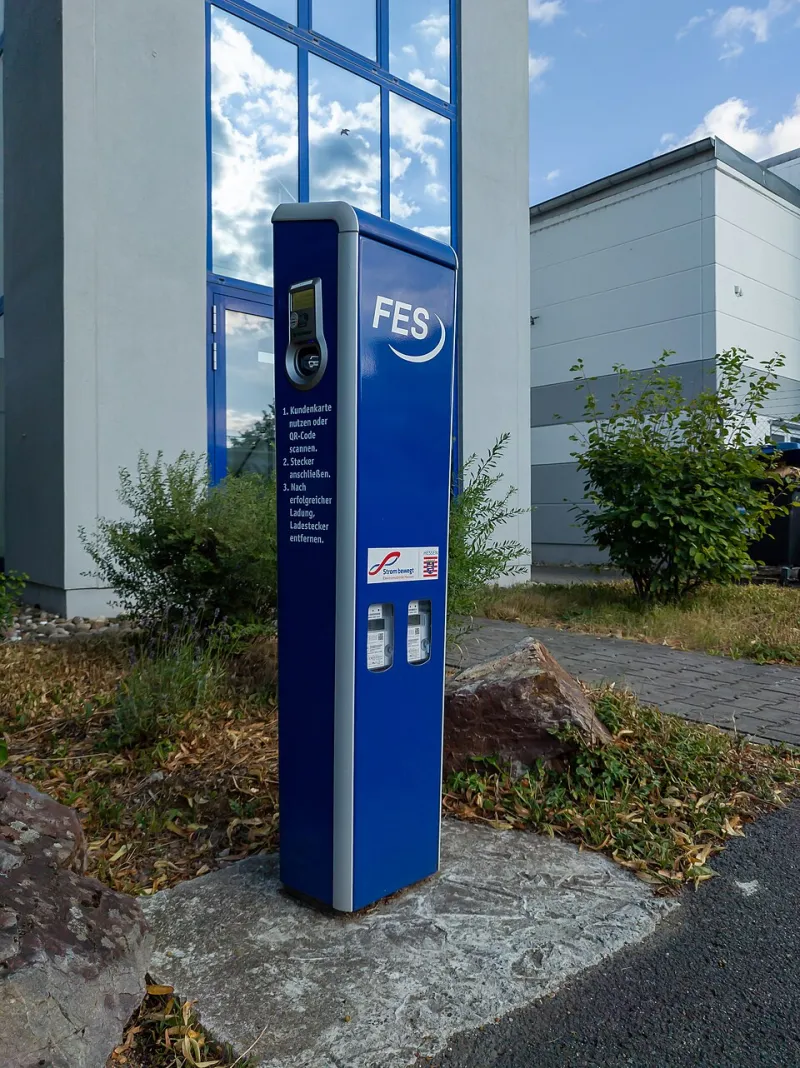
Photo: Matti Blume, CC BY-SA 4.0, via Wikimedia Commons
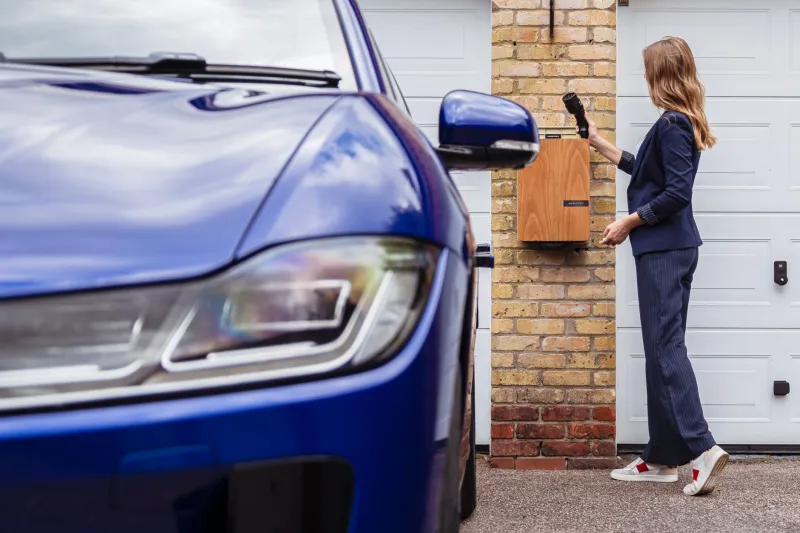
Walk around any estate built between about 1965 and 1985 and you'll find the same garage: single-skin brick or block, a bit of render on the outside, and an inside face that might be painted brick or plasterboard stuck on with dabs. Then someone buys a 7kW wallbox, drills four holes above the bonnet, and six months later the top two fixings are carrying everything while the bottom two turn in their holes like a loose tooth. The charger isn't the problem. The wall is.
Start with the substrate, not the box
Before you buy a fixing kit, work out what you're actually drilling into. A few cheap tests tell you most of it.
Tap the wall with a knuckle or the handle of a screwdriver. A dull thud with a bit of give suggests plasterboard on dabs, or old browning behind skim. A hard, sharp rap is brick or dense block. A magnet slid across the surface will find the corner beads and any steel lintel, which also tells you where not to drill blind.
If it's plasterboard, you'll want a long, thin probe through a discreet hole to find the masonry behind and measure the gap. Dot-and-dab can be anything from 10mm to 40mm of void. That gap matters, because it decides whether you can fix back to the brickwork at all.
A 4mm pilot hole gives you the best clue of the lot. Look at the spoil. Red or orange dust means clay brick, which is dense and holds a fixing well but can crack if you drill too close to an edge (keep at least 50mm clear). Grey, crumbly dust with a sandy texture usually means aerated concrete block — Thermalite and Celcon are the usual culprits — and this is the stuff that swallows a standard plastic plug and never grips it. Dark, oily dust could mean the bricks are engineering bricks, which are hard enough to blunt a cheap bit and are best drilled slowly with a masonry bit and no hammer action.
Why a backboard is worth the faff
A wallbox on its own is a fairly small footprint, and every fixing is doing a lot of work: the weight of the unit, the pull of a stiff 6mm² cable in cold weather, and the occasional person leaning on it while they wrestle a connector out of the holster. Spreading that load over a bigger area is the single most useful thing you can do.
An 18mm exterior-grade ply or 12mm OSB3 board, cut 100mm wider than the charger on every side, does three jobs. It spreads the load across four or six fixings instead of two. It gives you a flat, predictable surface for the charger's own bracket, which is handy on wobbly render. And it lets you mount the hardware slightly off the wall, using 25mm stand-offs or a simple timber frame behind it, so water runs behind rather than soaking into the top edge.
Seal the cut edges of the board with exterior paint or a couple of coats of wood preserver, and use stainless screws. A backboard that quietly rots behind a charger is worse than no backboard at all.
Fixings that match the masonry
For solid brick or dense block, a sleeve anchor or a concrete screw is the sensible default — something like an M8 anchor with a decent embedment depth, or a 7.5mm concrete screw that cuts its own thread. Both are happy in brick and both can be removed, which matters if you ever change chargers.
For crumbly aerated block, the reliable answer is a resin anchor or a specialist block fixing with a mesh sleeve. Standard plugs just spin. If the wall is very soft, consider through-fixing into something more solid behind, or bolting a timber or steel rail across the wall and mounting to that instead.
For plasterboard on dabs, never rely on the board itself for a charger. Fix through to the masonry with a long masonry fixing, and use the plasterboard only as a spacer. If the gap is too big for a sensible fixing, drop the whole thing onto a floor-standing pedestal or a freestanding post rather than fighting it.
Avoid mortar joints where you can. Brick faces hold far better than the soft lime or sand-and-cement bed between them.
The reel needs its own plan
A cable holster is light, but a reel or a heavy coil of 5m to 7m of thick charging cable is not, and it swings. Don't hang it off the same two fixings as the charger. Give it its own pair of anchors, spread as far apart as the bracket allows, and check the reel's stated load rating rather than guessing.
Keep the coil radius generous. A tight wrap on a cold morning is how cable sheaths crack and how connectors get strained at the gland. A holster mounted at roughly waist height, with a drip loop below it, keeps the plug end out of puddles and stops the weight of the cable pulling on the charger's own cable entry.
Height, clearance and the boring details
Mount the charger so the connector is comfortable to reach without stooping, typically somewhere between 1.2m and 1.5m to the unit's centre. Keep it clear of the arc of a car door and clear of anything that could get hot. Leave the manufacturer's recommended clearance around vents and cables, and make sure the isolation switch is reachable without climbing over a bike.
The electrical side isn't a weekend job for most people. In the UK, a new EV charge point is notifiable work under Part P and needs to comply with BS 7671, plus the specific requirements for charge points. Get a qualified installer in for the supply and the commissioning, and have this conversation with them before you drill anything. They'll often be glad you've sorted the substrate question in advance.
A short shopping list
Stainless A2 or A4 screws and washers, an 18mm ply or 12mm OSB3 backboard, 25mm stand-offs, a couple of packs of masonry anchors matched to your wall type, a resin cartridge if the block is soft, and a proper cable holster or reel with a rating you can actually read. Add a small tube of exterior sealant for the board edges and any cable entries.
Then, once a year, put a hand on the charger and give it a gentle tug. A wall that was going to fail usually tells you early — a hairline crack in the render, a fixings that's started to weep rust, a bracket that's no longer flush. Catching that in October beats finding it when the car's plugged in and the weather's turned.